
Classic Motorsports GPS Instructions
WARNING: Always start the GPS navigation before you depart each stop on the tour. Starting the GPS mid-route may cause errors and wrong turns. If you must start the GPS after departure, refer to the instructions at the bottom of this page for “Skipping Shaping Points” in order to correct your route.

Installing the Device
Mount the GPS device somewhere safe and visible in your car. Please follow all state and local laws—it’s your responsibility to choose an appropriate location.

Plug the GPS into your car’s 12V power outlet/cigarette lighter. The device doesn’t require much power, but will need to remain plugged in whenever you’re driving. Its internal battery will last approximately one hour if power is lost. To avoid dead car batteries, we recommend unplugging the GPS whenever you’ll be away from your car for extended periods.

Turn the GPS on by pressing the power button on the rear of the unit.

Tap the blue “Agree” button, then wait 60-90 seconds for the device to acquire a GPS signal.
Starting Navigation
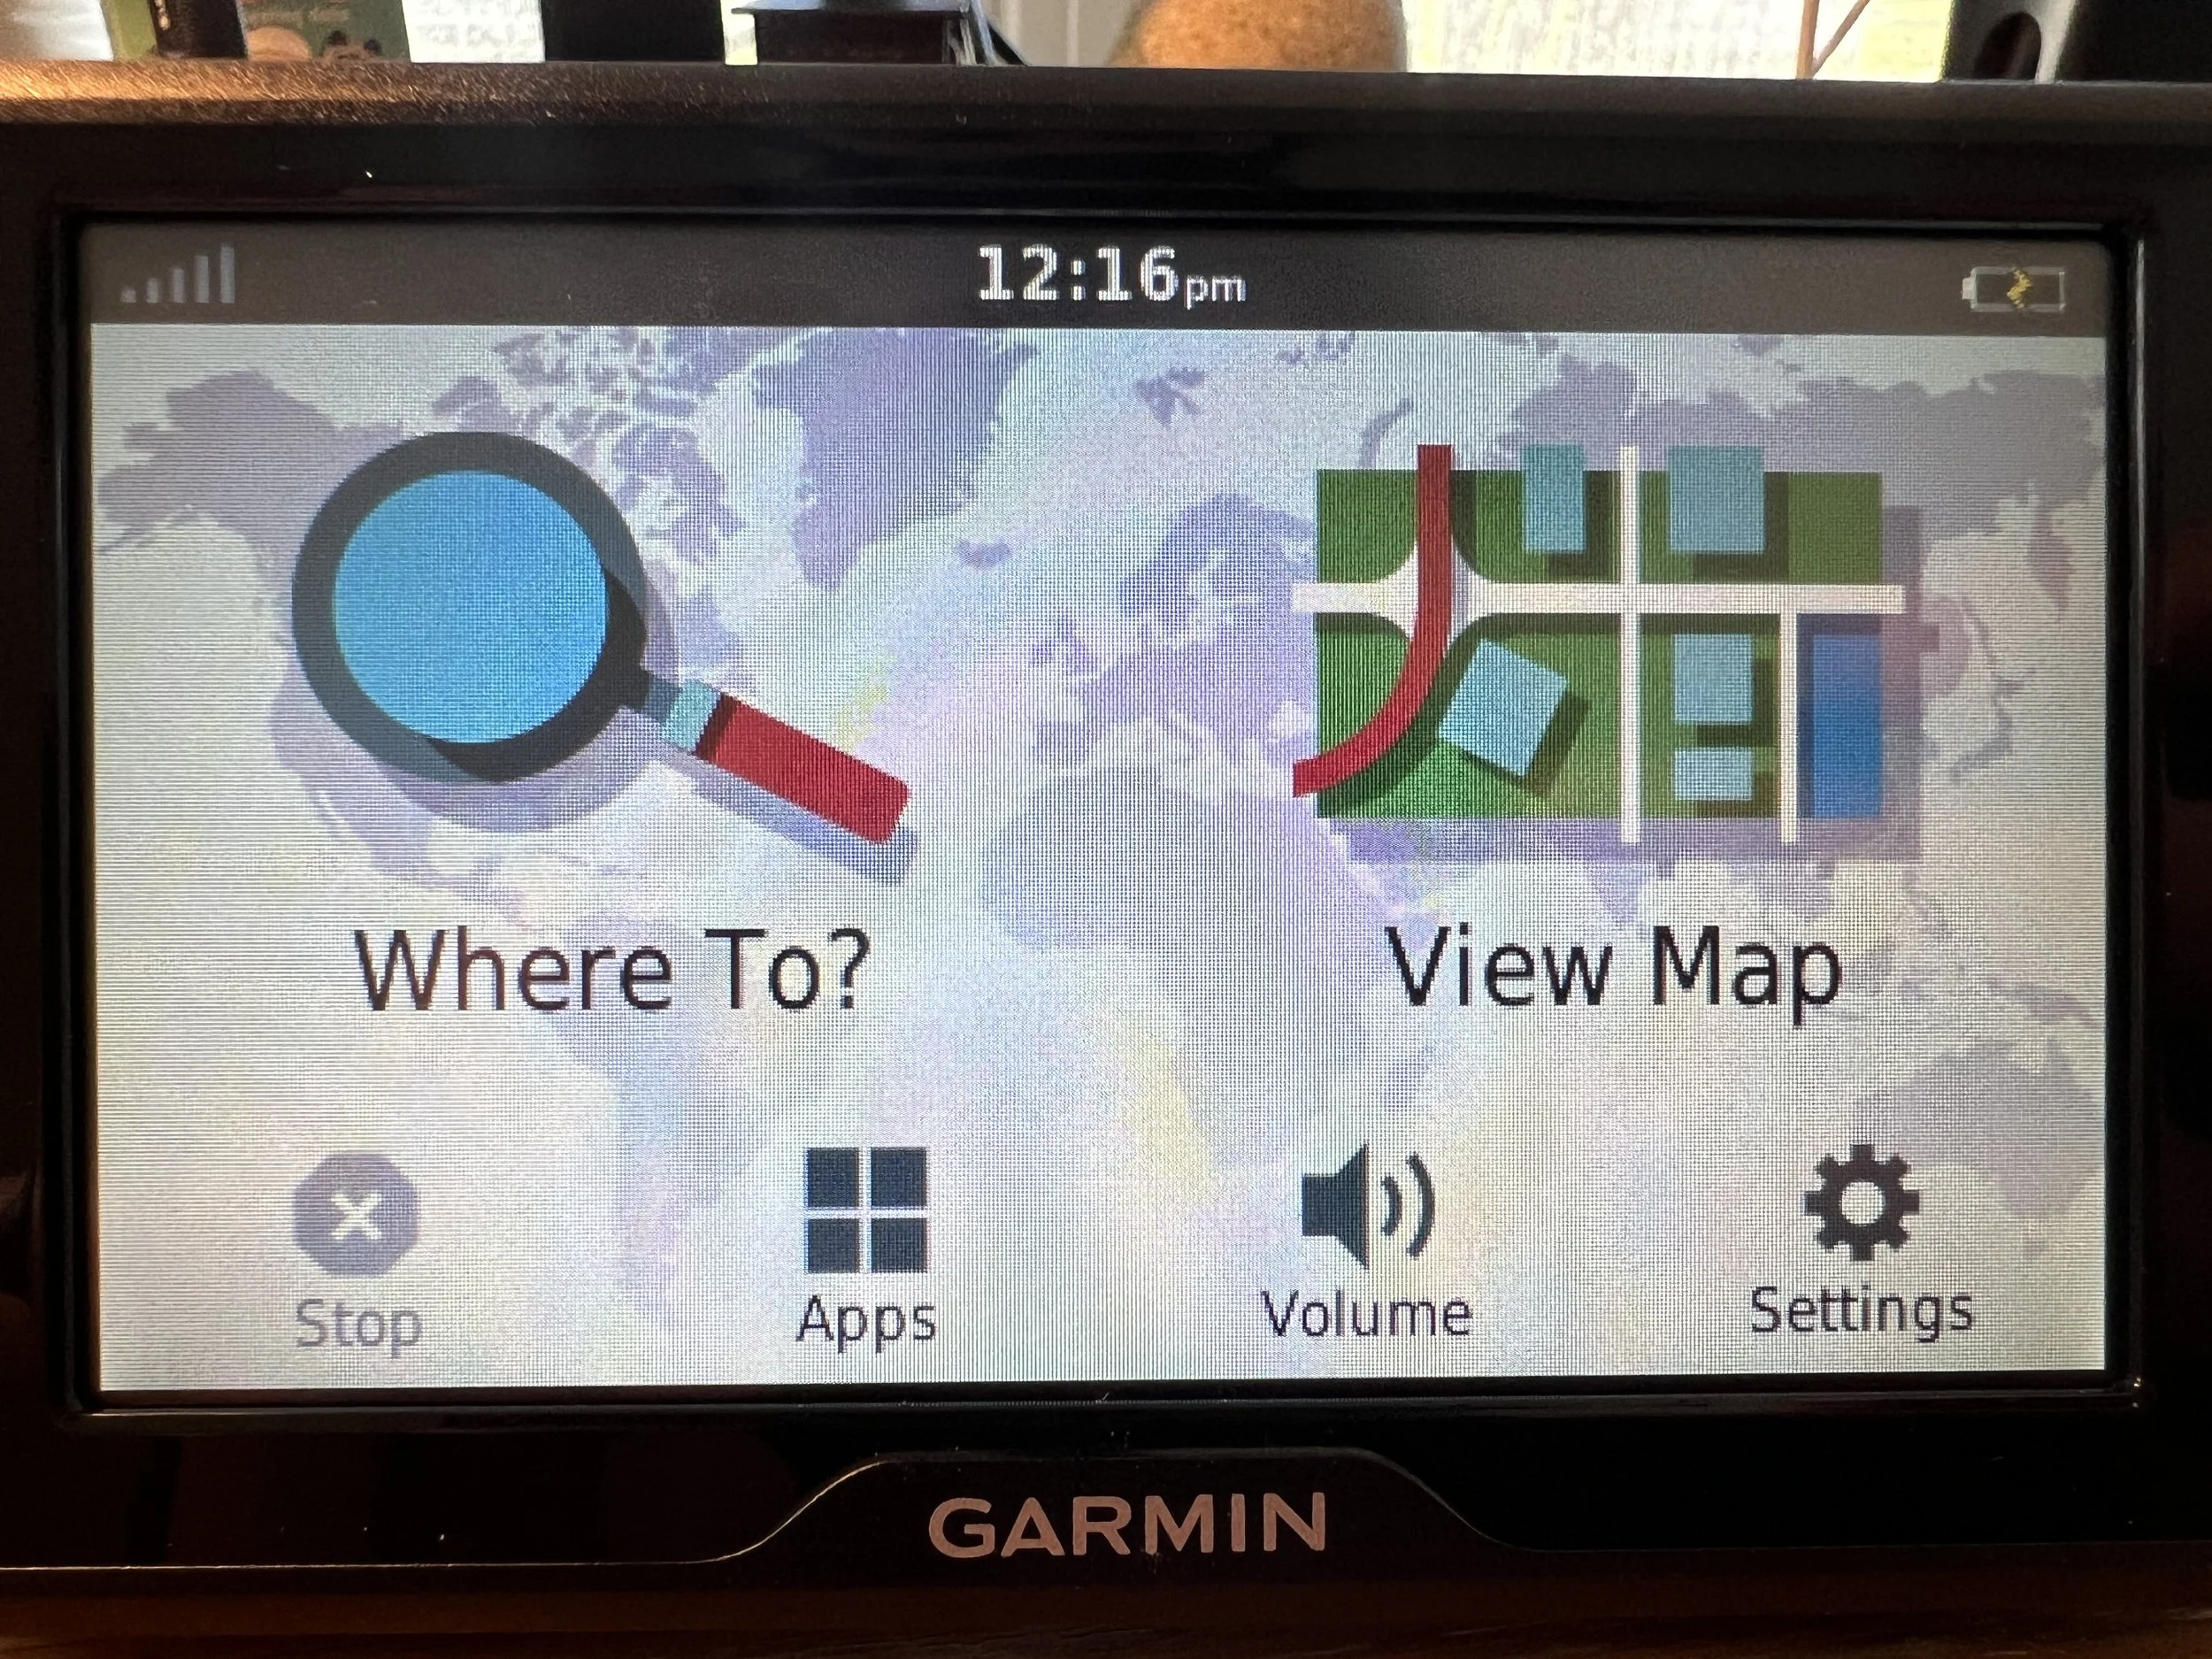
This is the device Home Screen. Tap “Apps” to choose a pre-programmed route.
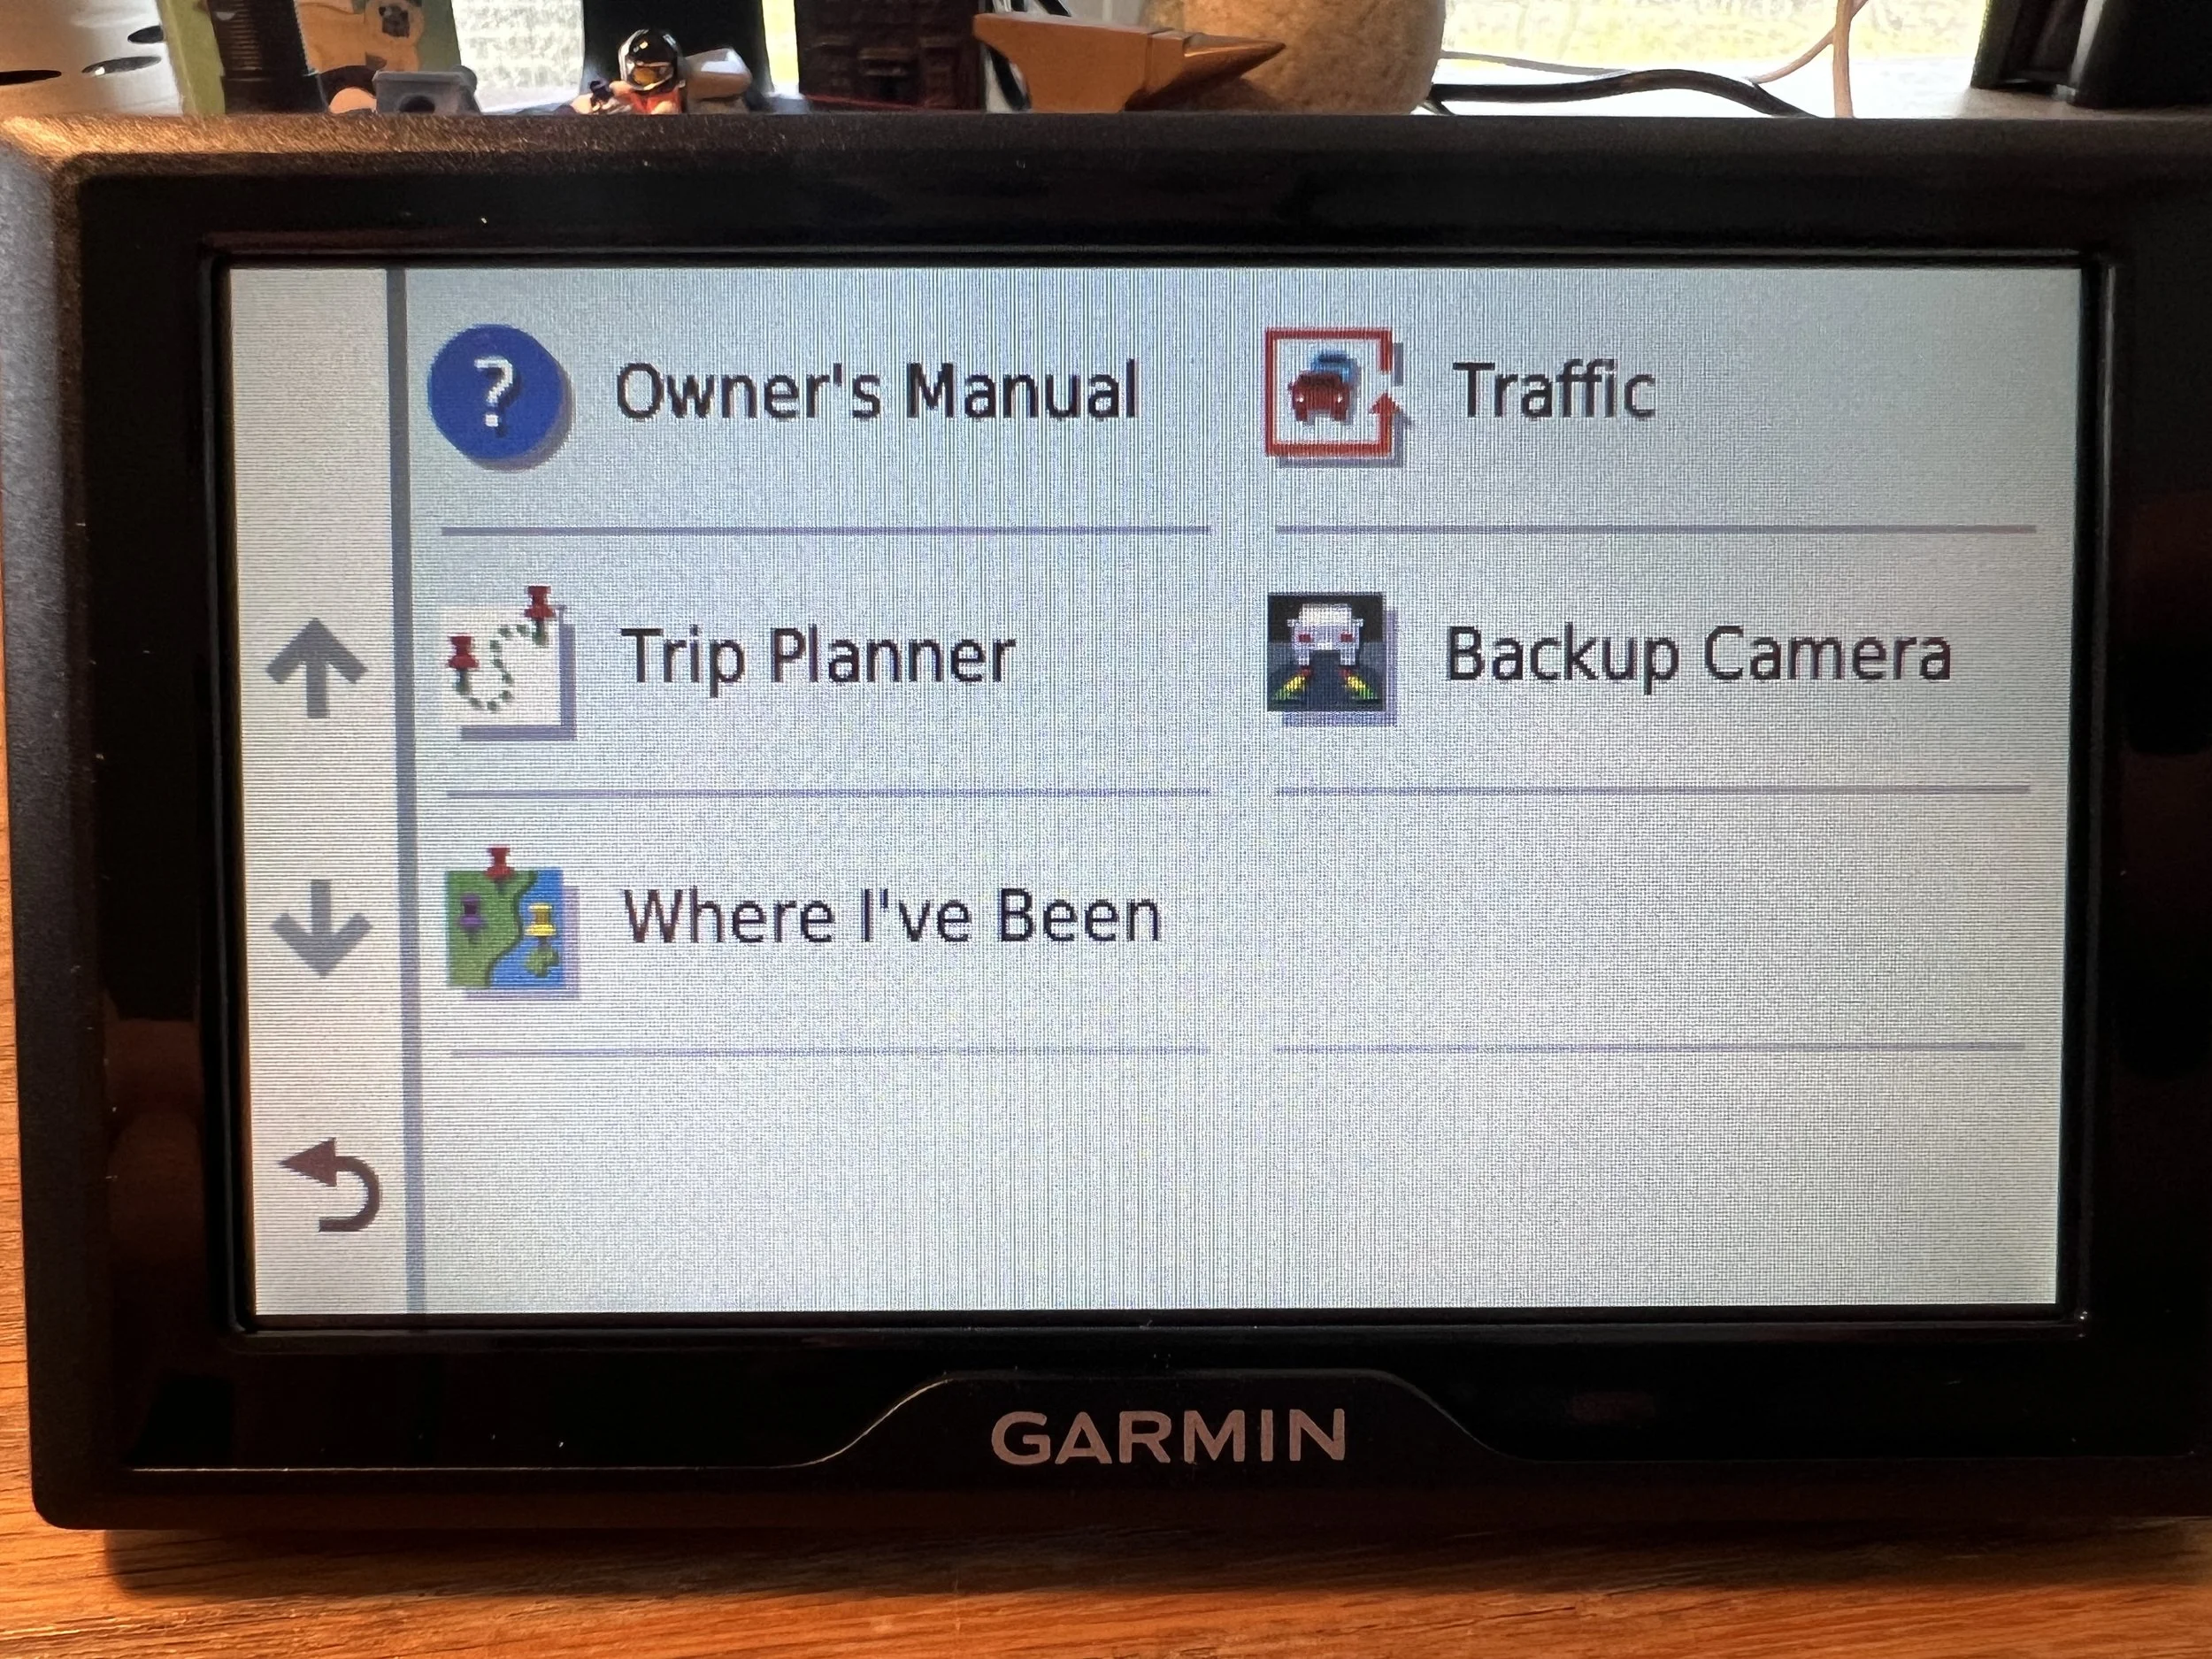
This is the apps screen. Tap “Trip Planner” to choose a pre-programmed route.

This is the trip planner screen. Tap “Saved Trips" to choose a pre-programmed route.

This is the Saved Trips screen. Here, you’ll pick the trip you’d like to take. We’re going to start with Day 1 Leg 1. Tap the trip you’d like to take, in this example Day 1 Leg 1.
Please note that each of these times are just rough departure estimates, and may conflict with the official schedule and times in your route book. Your route book and/or Classic Motorsports Road Tours staff instructions will always take priority over times noted in your GPS device.

This is the trip details screen. Here you’ll see the start (green flag) and end (checkered flag) for the trip you’ve selected. Tap “Go!” to continue.
Between the start and end are arbitrarily chosen addresses, called shaping points. These aren’t destinations and you won’t need to do anything when you reach them—they’re just points you’ll drive past as you enjoy our curated routes.

Next, you’ll select your destination. Make sure the end point is selected, then tap “OK” to calculate the route.
You’ll never need to select the start of the route as your destination unless you're rejoining the tour and need instructions to a previous stop. For example, you’d tap “Renaissance Asheville Hotel” on this screen if you needed automatically generated instructions from a repair facility to the hotel where the tour is based.
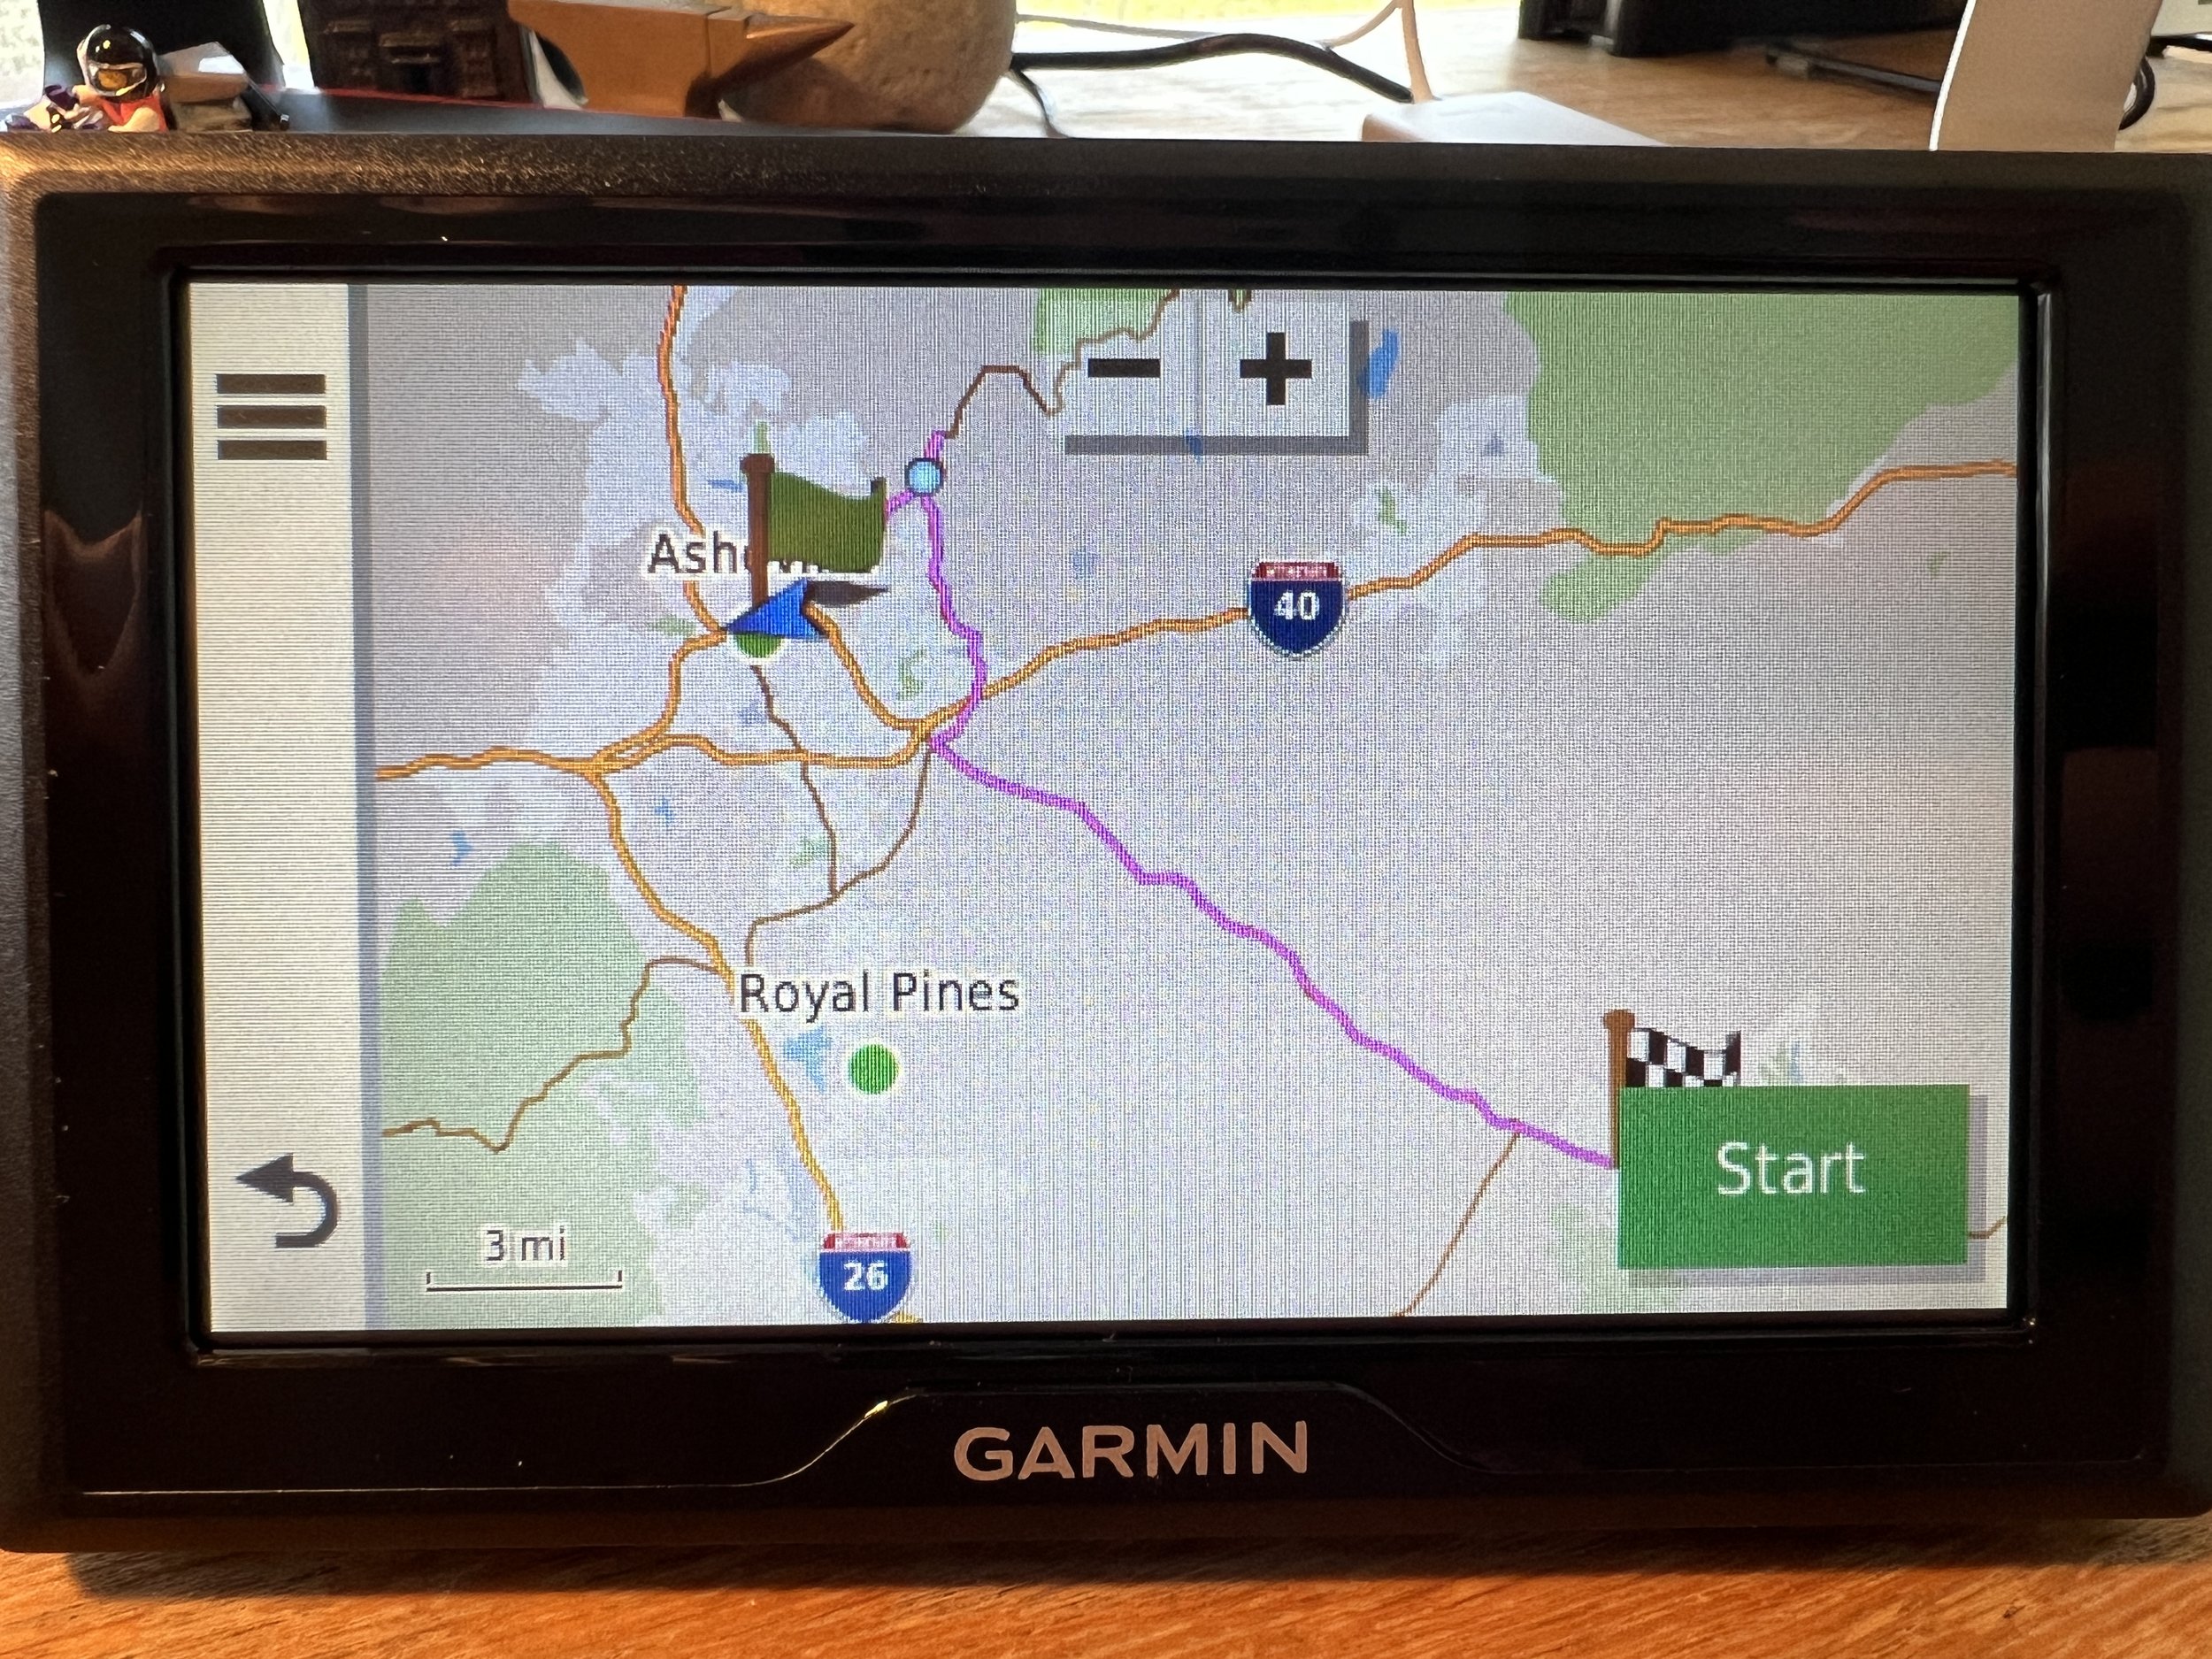
The GPS will calculate the route and display an overview map. Tap “Start” to begin navigation.
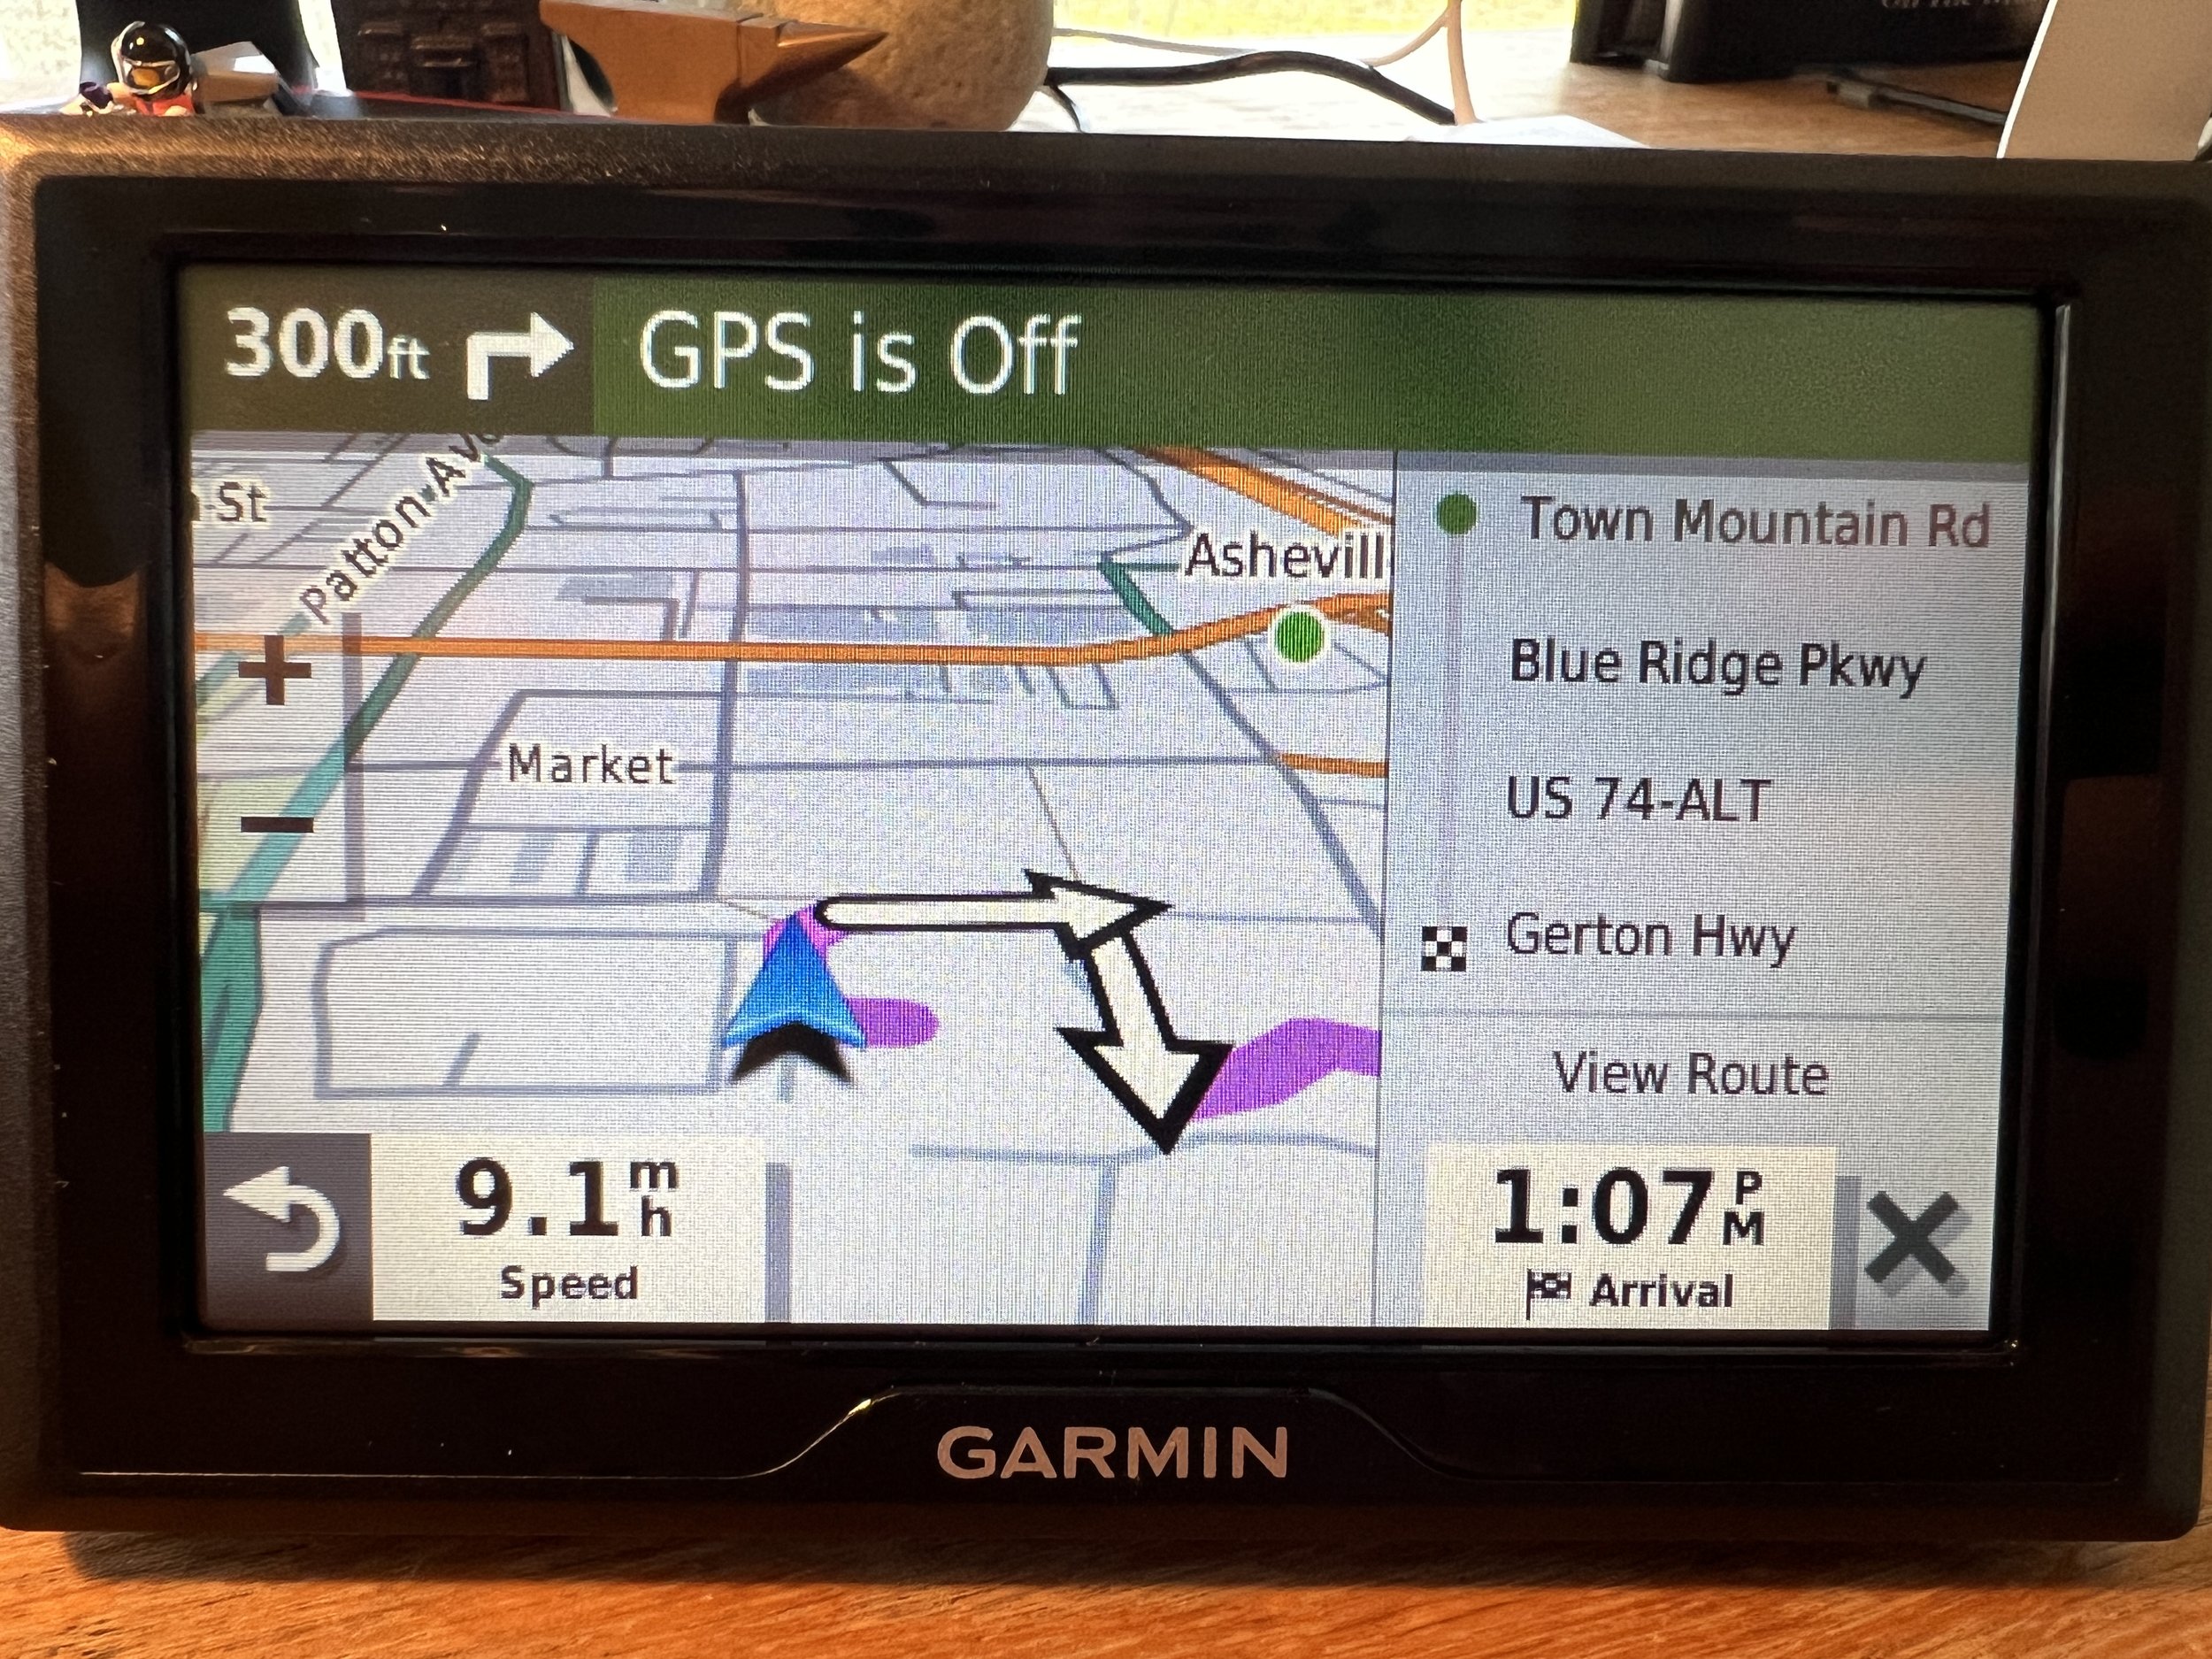
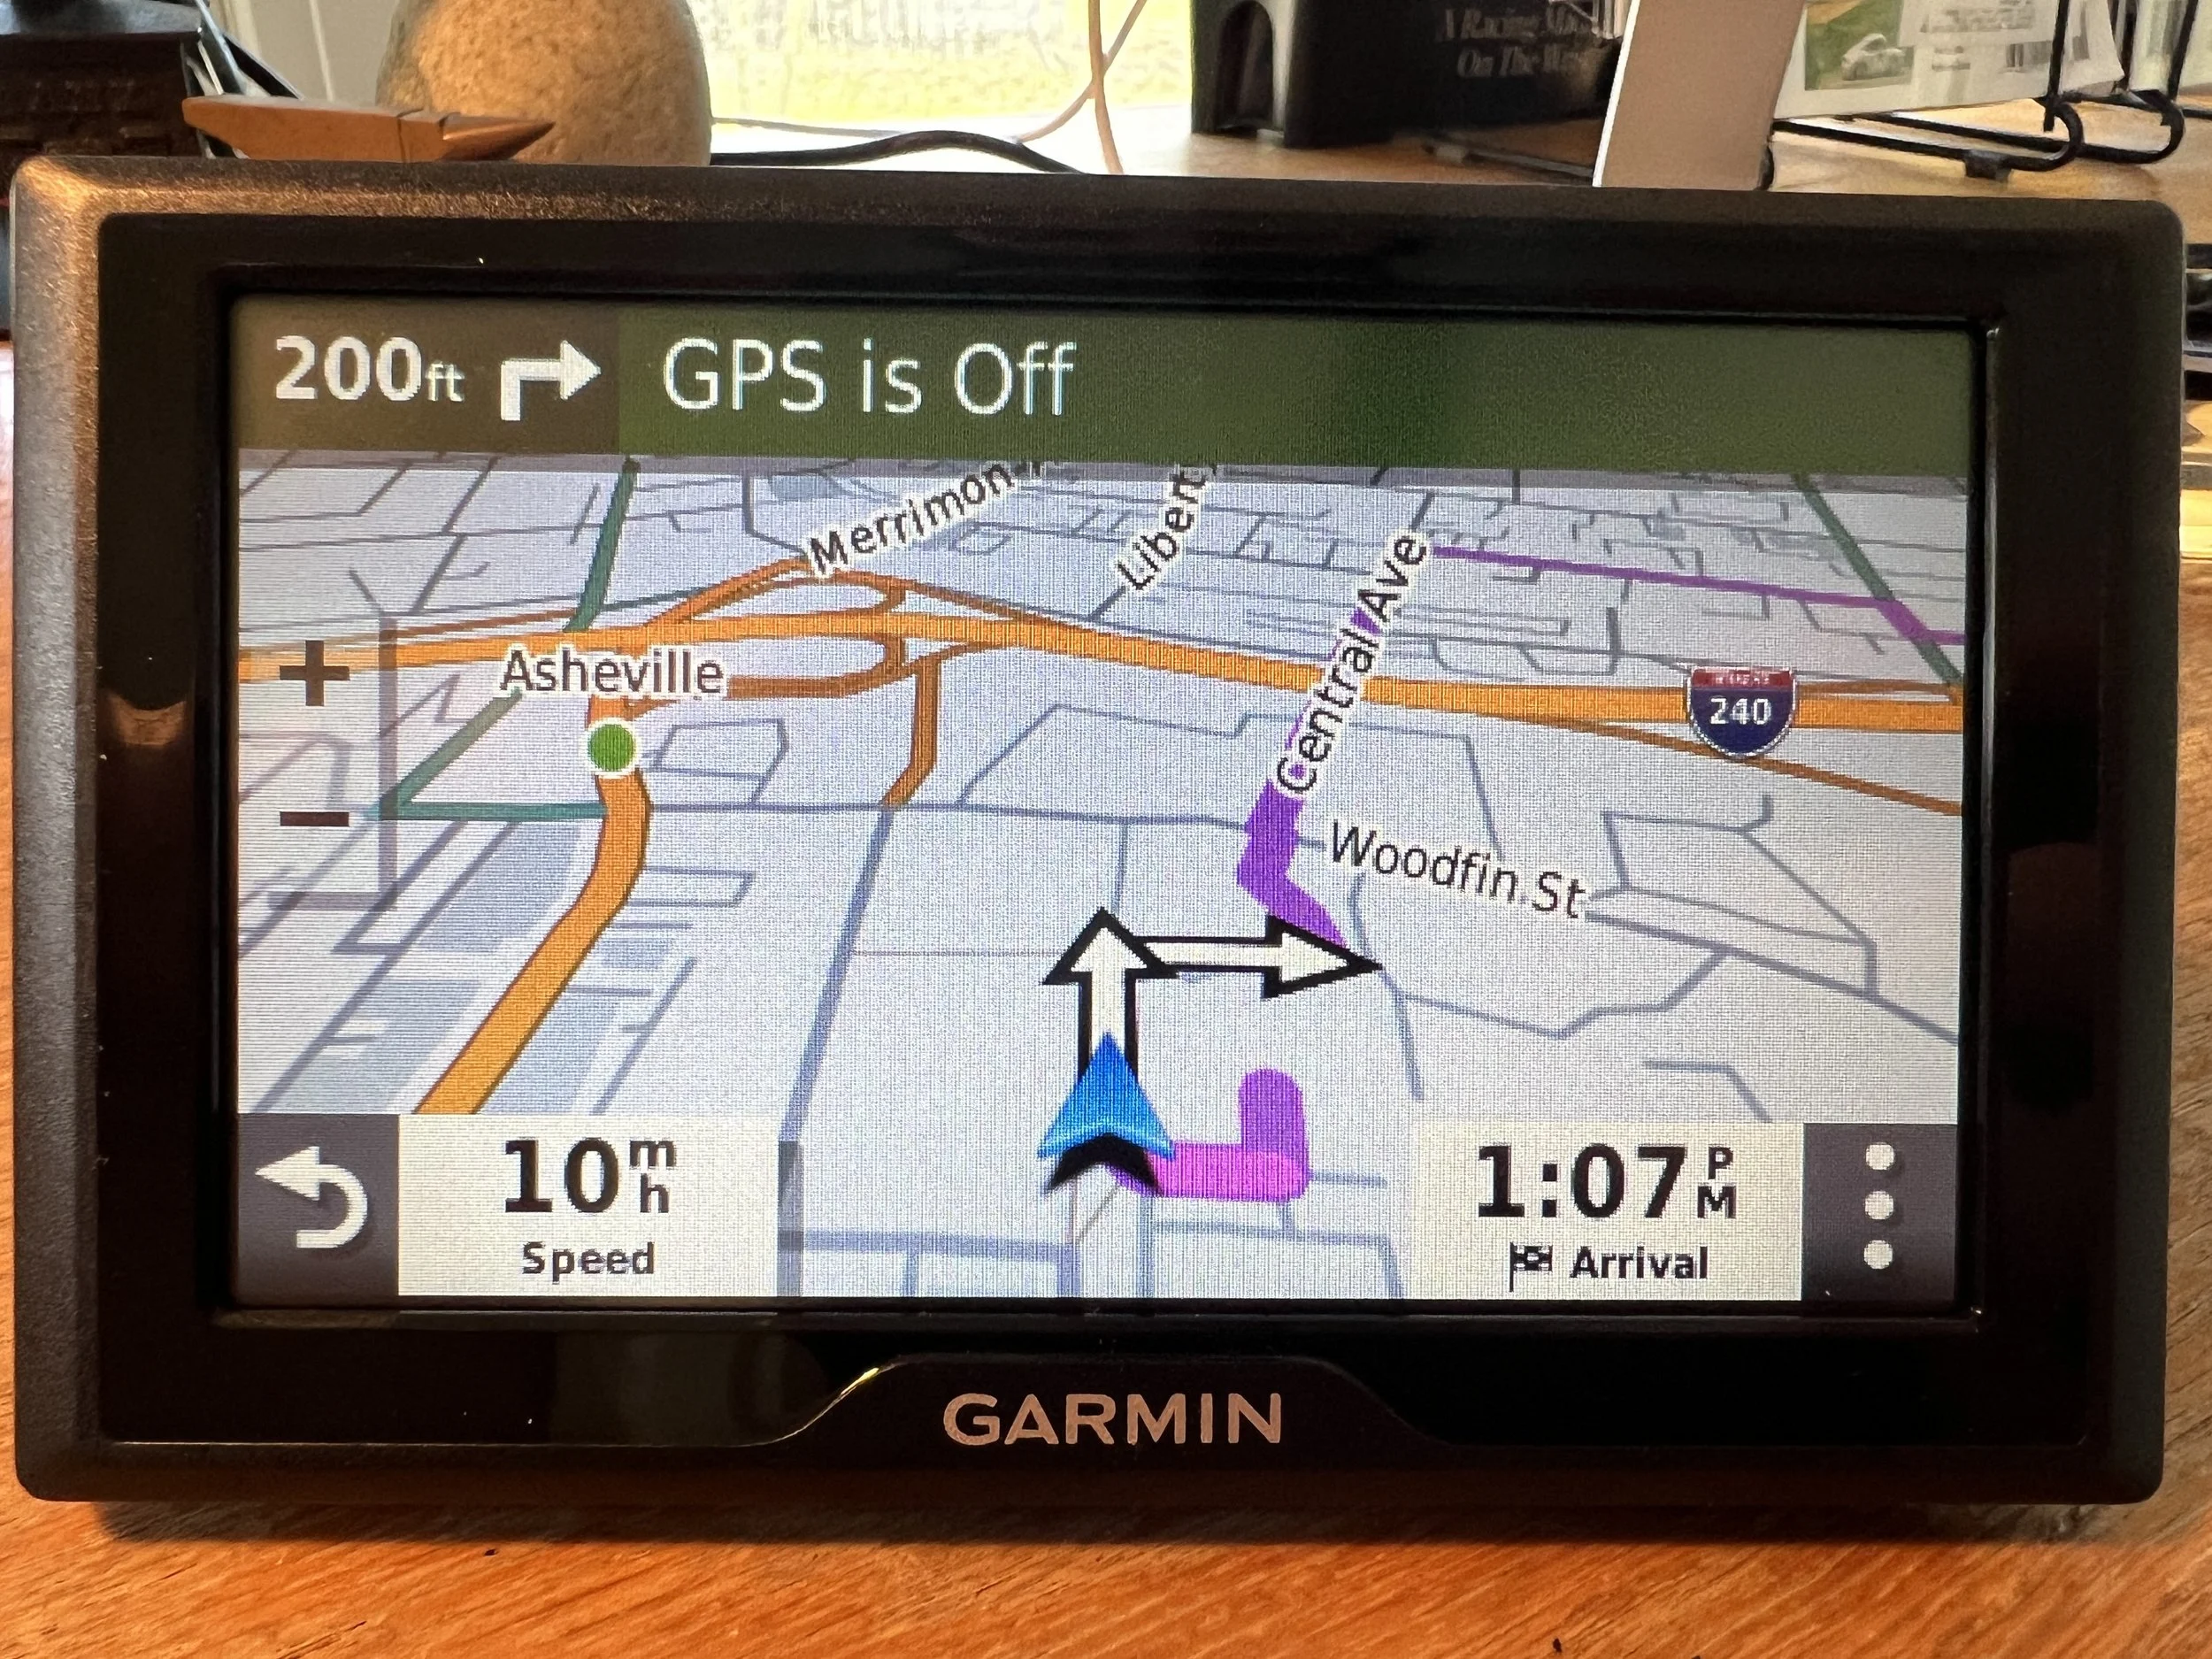
The GPS will now offer turn-by-turn navigation to your destination, following our curated routes along the way. Tap the “X” button to display a full-screen map.

Skipping Shaping Points
Sometimes you may need to skip a shaping point. We create our curated routes by choosing a series of shaping points along the roads we’d like to drive, sometimes as many as 30 points per route. Your GPS will always direct you to pass through each of these points in order.
This creates a problem when you start the GPS in the middle of a route, as it will then direct you to the beginning in order pass through each shaping point in order. This can also create a problem if a detour is required due to road conditions.
Therefore, it’s occasionally necessary to skip one or more of the next shaping points, essentially telling the GPS to forget the next direction(s) and move on.
To skip shaping points, tap the three dots in the bottom right of the screen.

Next, tap “Edit Route” at the top of the screen.

Tap “Skip Next Shaping Point.”

You’ll then see a detailed view of the next shaping point. Tap “Skip” to skip it.

The device will recalculate your route with the next shaping point skipped, and continue turn-by-turn navigation. You will need to repeat this process if you’d like to skip multiple shaping points.